Winter Emergency Chicken Coop Prep Checklist
When winter hits hard, your chickens feel it long before you do. Sudden cold snaps, ice storms,…
When winter hits hard, your chickens feel it long before you do. Sudden cold snaps, ice storms, and power outages can turn a cozy coop into a risky environment fast. Preparing your flock’s roosting space before emergencies strike is the best way to keep them healthy, warm, and stress-free all season long. Let our winter emergency coop prep checklist be your guide when winter roars in like a lion!
Here’s your complete guide to winter-proofing your roost—simple steps, practical advice, and hatchery-approved tips to help you protect your birds through every unexpected freeze.
1. Start With a Solid Coop Check
Before winter even settles in, give your coop a quick health inspection:
- Look for cracks, gaps, or drafts. Seal them with weather-resistant caulk or foam strips. Chickens can handle cold, but drafts directly on roost bars can cause frostbite.
- Inspect the roof for leaks. Melting ice dripping into bedding can turn the coop damp fast.
- Test doors and latches. Cold weather can make wood swell and hardware freeze—make sure everything closes tightly.
2. Ventilation: The Secret to a Safe Winter Roost
Here’s the part many beginners get wrong: you want ventilation, not drafts.
Healthy airflow moves moisture out of the coop and prevents ammonia buildup. Without it, moisture from breathing and droppings settles on combs and wattles, increasing frostbite risk. Consequently, the moist, warm air that rises to the top of the coop needs somewhere to go.
Make sure your coop has:
- Vent openings near the roofline
- No cross-breezes directly hitting your birds
- Hardware cloth, not solid boards, for safe airflow
3. Upgrade the Roost Bars for Winter
Your chickens spend 10–14 hours on the roost in winter nights. Make it count:
- Use bars at least 2–4 inches wide. This allows chickens to fully cover their toes with their feathers.
- Avoid metal poles. They pull heat from your birds’ feet.
- Position roosts higher than nesting boxes. Chickens always seek the highest safe point to sleep.
A secure, comfortable roost is one of the biggest defenses against winter injuries and cold stress.
4. Build Thermal Protection—No Electricity Required
Heat lamps can be dangerous, and winters are too unpredictable to rely on power. Consider winterizing naturally:
Add Insulation
- Straw bales (placed around the outside of the coop – not hay)
- Extra wood panels
- Rigid foam board behind interior walls
- Shavings or straw layered deep on the floor (deep litter method)
Use Wind Breaks
Attach clear tarps or plywood panels around the run to block icy winds without sealing out light. Other handy ways to create windbreaks might include building a dead-hedge, or putting in winter-hardy plants.
5. Prep an Emergency Water Plan
Water is the first thing to freeze—and the first thing to stress your flock.
Have a plan for:
- Heated waterers (if power is stable)
- Backup rubber bowls (easier to knock out ice)
- A rotation system for replacing frozen water every few hours during extreme cold
Pro tip: Place waterers out of the coop to reduce humidity.
Pro tip 2: Keep cleaned out 1 gallon plastic milk and juice jugs – fill them with hot or warm water right before you go out to do your morning rounds – pour the hot water into frozen water bowls, or fill empty waterers with warm water.
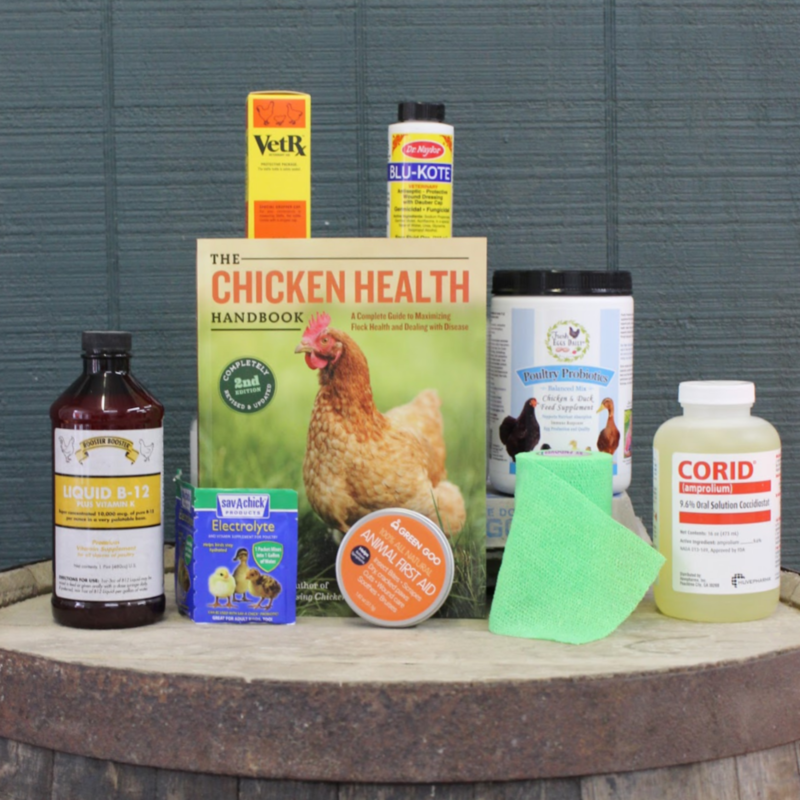
6. Stock an Emergency Winter Kit
Keep a small tub ready with:
- Electrolytes & poultry-safe vitamins
- Vet-wrap for frostbite injuries
- Extra bedding
- High-protein treats (scrambled eggs, mealworms, feed blocks)
- A flashlight or headlamp
- Spare waterer & feeder
You’ll thank yourself the first time an ice storm hits at 2am.
7. Have a Backup Shelter Plan
In rare weather emergencies—blizzards, deep freezes, downed trees—your main coop may become unsafe.
Plan ahead by:
- Identifying a garage, shed, or barn space you can use temporarily
- Storing a collapsible exercise pen or dog crate to contain birds if needed
- even a camping tent will work in a pinch
- Keeping a small bag of feed indoors so you’re not slogging through snow while your birds are inside
Even a small emergency setup can save your flock.
8. Supplement Light Without Overdoing It
Remember, shorter winter days mean fewer eggs. If you choose to add light:
- Use soft, warm LEDs on a timer
- Keep it at 12–14 hours of total daylight
- Never use bright, full-intensity bulbs
A gentle dawn-simulation approach keeps hens laying without confusing their biological rhythm. Similarly, a warm light in the coop at dusk is a perfect reminder to your flock that it’s time to get back inside.
9. Watch for Cold-Stress & Frostbite
Know what trouble looks like:
- Combs turning pale, blue, or black
- Lethargy
- Standing hunched or refusing to leave the roost
- Ice buildup on combs or wattles
If frostbite occurs, don’t rub or heat directly. Bring the bird into a warmer space and allow slow, natural thawing.
10. Keep Calm—Chickens Handle Cold Better Than You Think
A well-prepared roost and a stable routine do more for your flock than heat or gadgets ever could. Chickens are hardy. Your job is to eliminate drafts, moisture, and sudden environmental stress. Remember, some emergencies are unavoidable, so all you can do is try to think ahead and prepare.
Set up their environment now, and they’ll handle the rest.
Bonus Tip:
Keep a long handled broom or lightweight rake handy and clean ice and snow off of the tops of your coops regularly during snowfalls. Snow weighs enough to collapse a coop. Additionally, you might want to take the opportunity to knock ice off of overhanging limbs to reduce the chances of branches falling.
Final Thoughts
Winter emergencies don’t have to be scary if you’re prepared. With a sturdy coop, proper ventilation, emergency supplies, and a little planning, your flock can stay happy, warm, and thriving all season long.
If you need help choosing cold-hardy breeds, winter-ready supplies, or want expert advice— we’re here for you every step of the way.